Mazda 3 / Mazdaspeed 3 Car Audio Install Diary (TONS of Pics)
#1
Mazda 3 / Mazdaspeed 3 Car Audio Install Diary (TONS of Pics)
As a new contributing member of the forum, I thought I'd share my install experience with the 3 series hatch. I'll address various pitfalls that occur with this model, and how to optimize the car for a good sound.
First thing's first, this will be extremely picture intensive, so lower speed connections may have difficulty. Sorry! However, I'll do my best to post whats needed.
Except these:

Hahaha.
Anyway, on with the work...
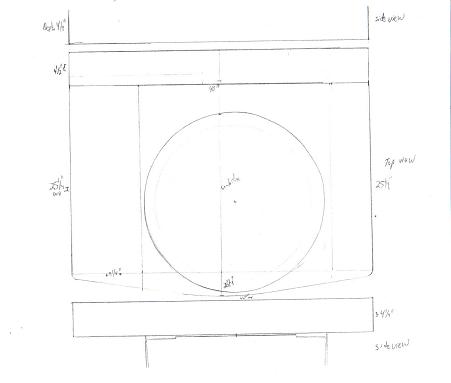
First, I recommend a little prep work. I usually measure every little thing that I'm going to do, and write it down. This way, I can research, plan, draw, etc., but I don't have to be near the car. So, daydreaming of ideas, planning and all that can go on a few days before you actually install. The reason for this is to work little problems out in your head. You can step back, and really think of what the hell you're going to do.
Here's my sketch. I took my pencil drawing, and scanned it in my cheap printer/scanner, then made copies. By using copies, I could then erase or start over, but not ruin the accurate sketch. I just drew on top of these sketch copies and did a bunch of different designs, until I was happy.
Measure and measure...
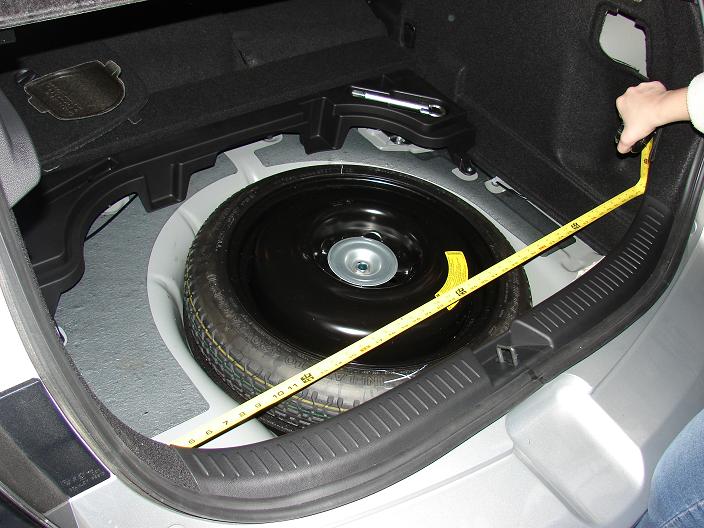

After getting an idea through sketches of what you want to do, now you need to deaden the car. I had about 20sq. feet of Dynamat Xtreme left over from my installs previous, but these days I can suggest a ton of other brands. We'll save that for another day, eh?
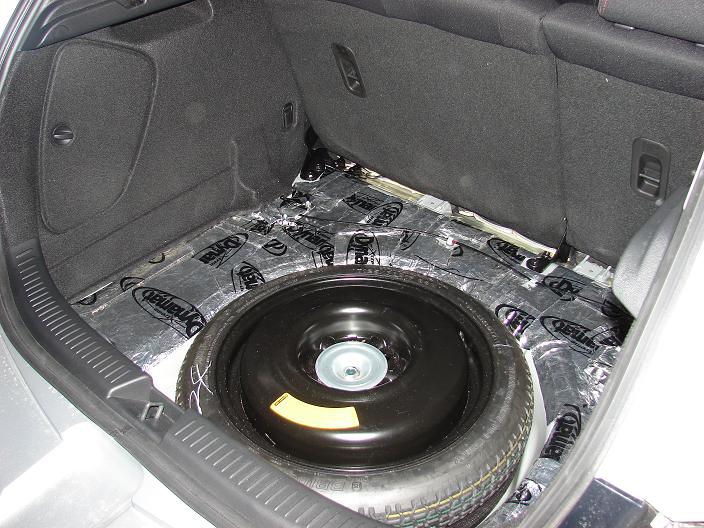
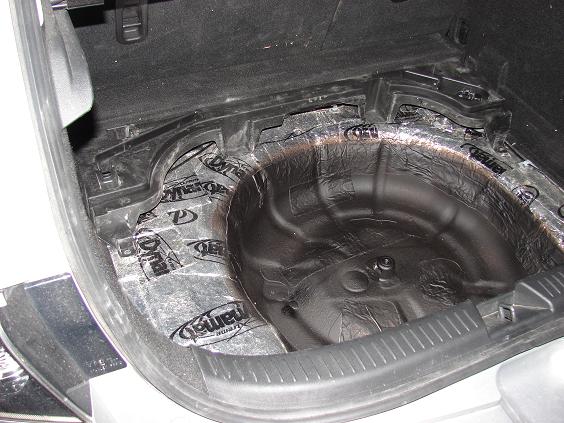
I'm just showing pics of the trunk, but honestly you should do the whole damn car. I did all mine except for the roof, the rear doors, and the floor. I chose against it because of the weight penatly, but thats me. If you are after better sound, and a quieter car, do the whole car. Sound deadener is probably one of the most important things you can do. Also, use something like Ensolite (from a company called www.raamaudio.com), a thin closed-cell foam designed to go over the deadener. We'll get into that later, too.
First thing's first, this will be extremely picture intensive, so lower speed connections may have difficulty. Sorry! However, I'll do my best to post whats needed.
Except these:


Hahaha.
Anyway, on with the work...
First, I recommend a little prep work. I usually measure every little thing that I'm going to do, and write it down. This way, I can research, plan, draw, etc., but I don't have to be near the car. So, daydreaming of ideas, planning and all that can go on a few days before you actually install. The reason for this is to work little problems out in your head. You can step back, and really think of what the hell you're going to do.
Here's my sketch. I took my pencil drawing, and scanned it in my cheap printer/scanner, then made copies. By using copies, I could then erase or start over, but not ruin the accurate sketch. I just drew on top of these sketch copies and did a bunch of different designs, until I was happy.

Measure and measure...


After getting an idea through sketches of what you want to do, now you need to deaden the car. I had about 20sq. feet of Dynamat Xtreme left over from my installs previous, but these days I can suggest a ton of other brands. We'll save that for another day, eh?


I'm just showing pics of the trunk, but honestly you should do the whole damn car. I did all mine except for the roof, the rear doors, and the floor. I chose against it because of the weight penatly, but thats me. If you are after better sound, and a quieter car, do the whole car. Sound deadener is probably one of the most important things you can do. Also, use something like Ensolite (from a company called www.raamaudio.com), a thin closed-cell foam designed to go over the deadener. We'll get into that later, too.
#2
The next thing to do is make a plan, and don't be afraid to change it! Explore, change, make things the way you really want. Remember though, usually when you change up, you are going to cost yourself the time and money. So, make sure you REALLY want to do it. I'll give you an excellent example through pictures, of my first subwoofer box plan, and then what I ended up doing.
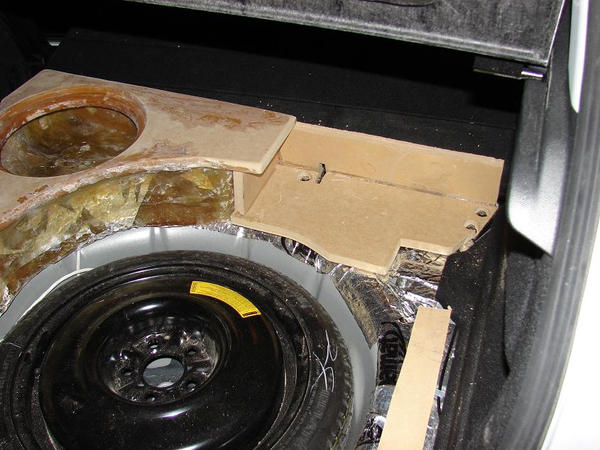
System Plan A: The concept was to fiberglass a sub box on top of the trunk floor, letting the spare tire stay. Good plan, IMO, but it caused too many compromises in what I wanted it to sound like. I'll explain that later -

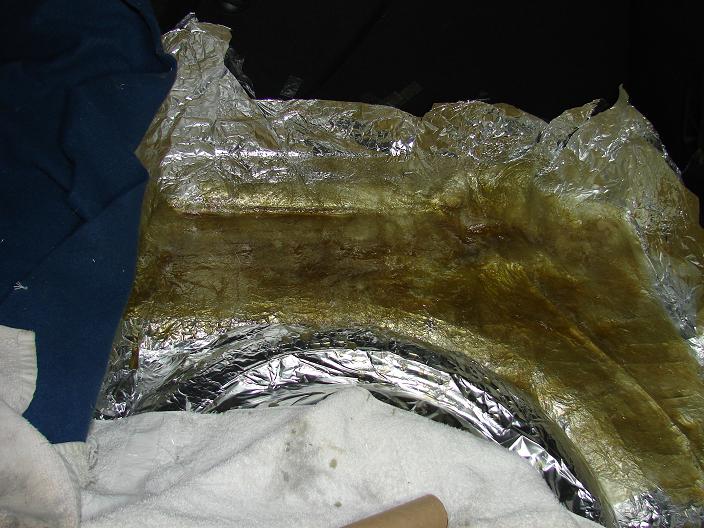
This was the plan, sorta.

Coming along...
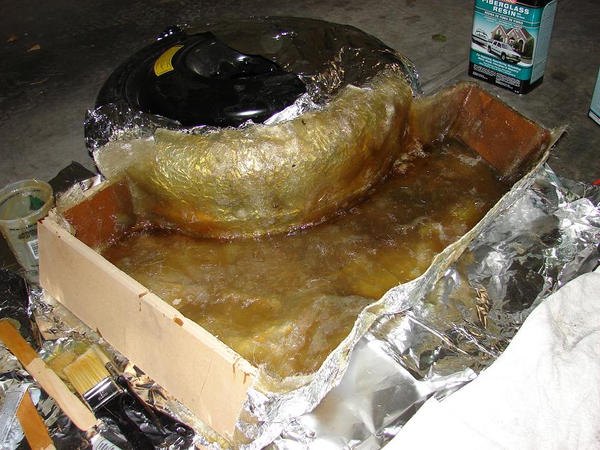
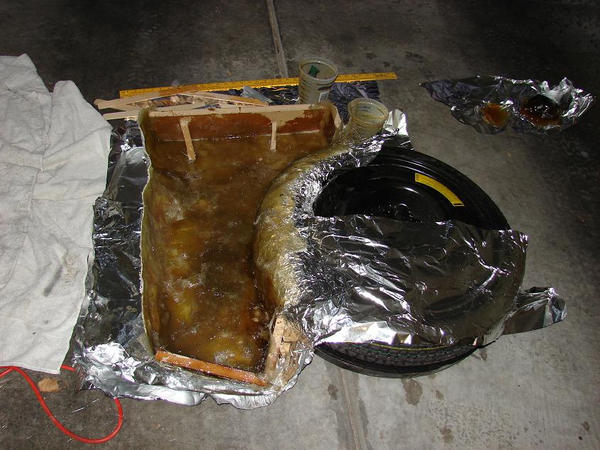
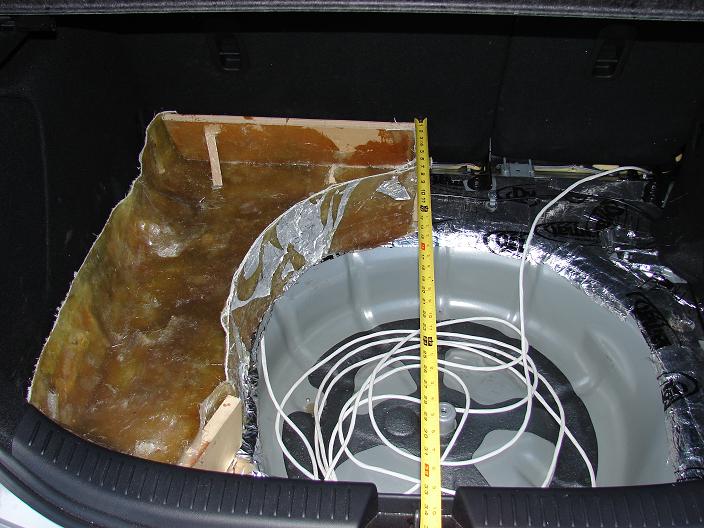
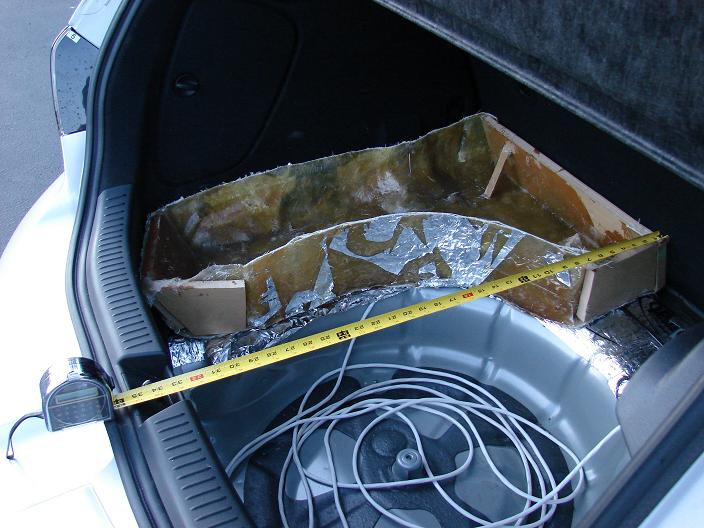
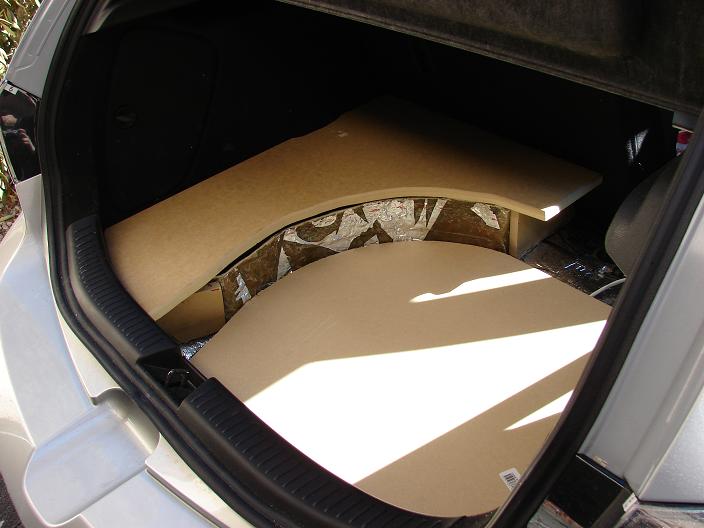
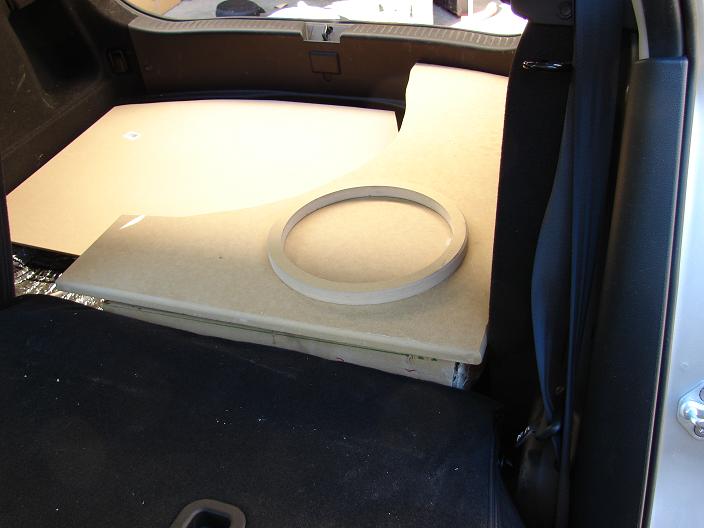
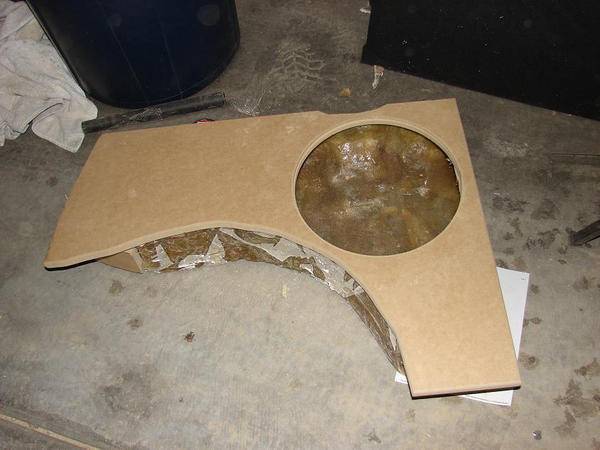
System Plan A: The concept was to fiberglass a sub box on top of the trunk floor, letting the spare tire stay. Good plan, IMO, but it caused too many compromises in what I wanted it to sound like. I'll explain that later -


This was the plan, sorta.

Coming along...


#3
Continuing the pics of Plan A:
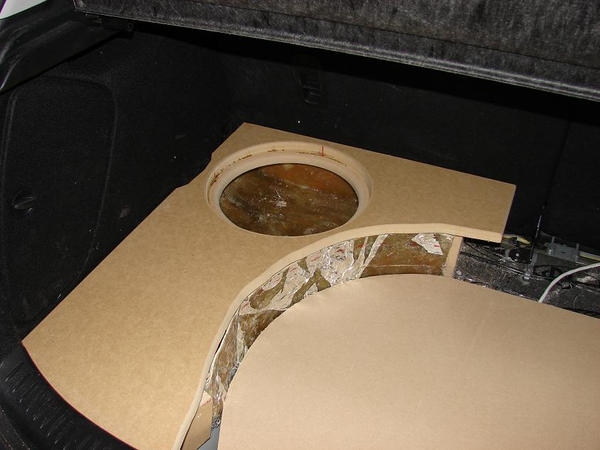
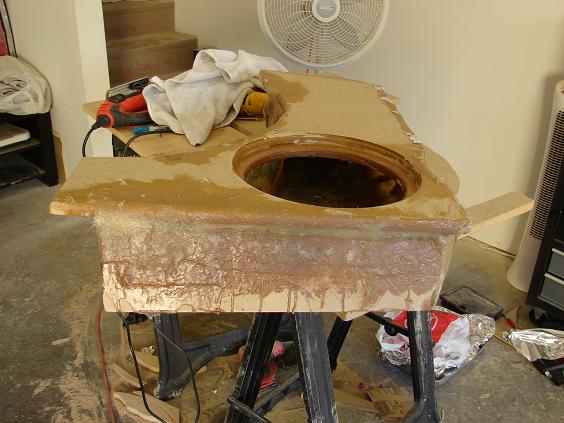
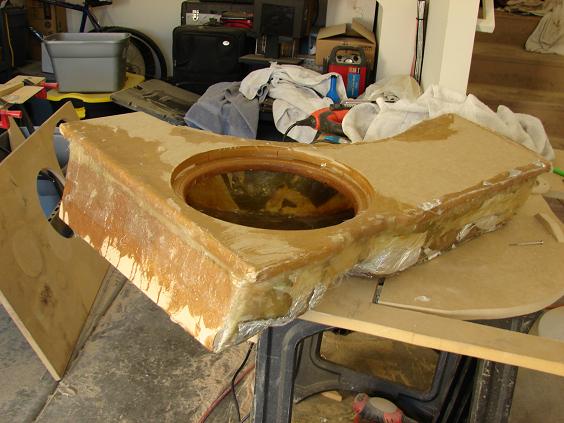
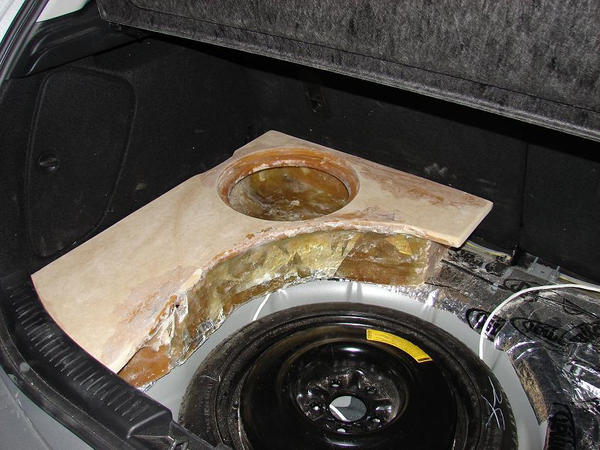
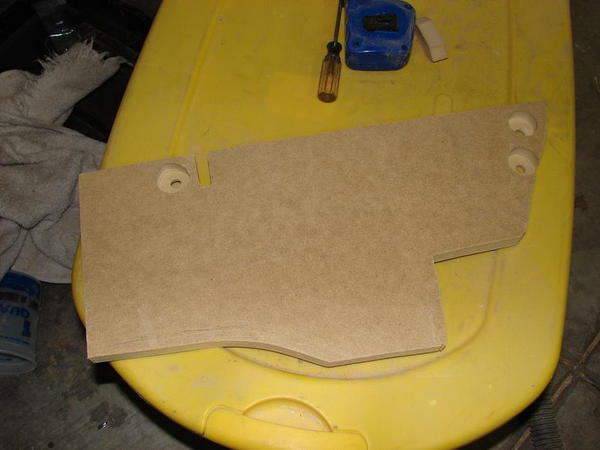
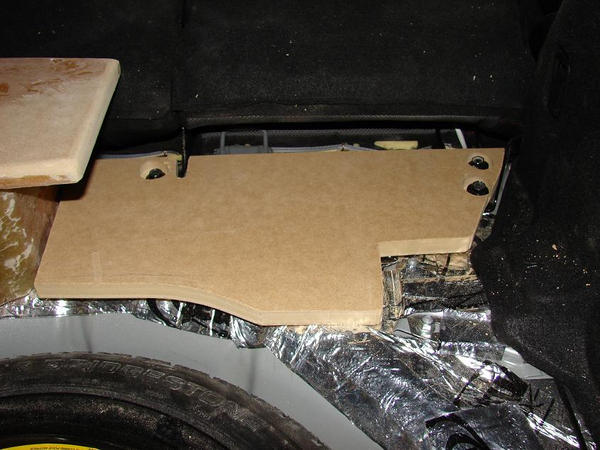
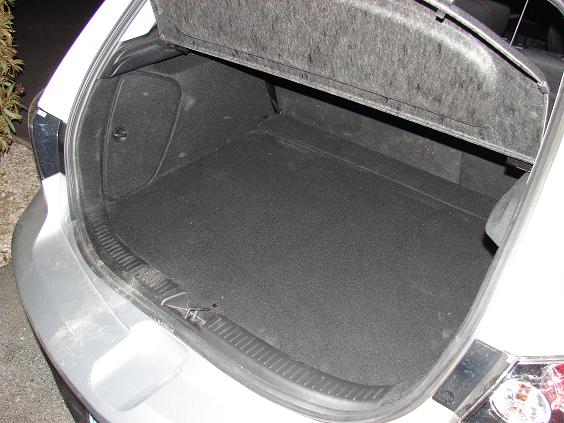
This is what the final product was supposed to look like. In fact, thats the stock trunk cover sitting right on top of that box. So, you can see I was going to for the "stealth" look.
It was about this point that I decided I've gone entirely the wrong direction! This SUCKS, to say the least. One day, I hope one of you guys go this route, and do better. The secret to making this plan work is running a thin depth subwoofer. You see, that neat little box you see is only 4" tall on the inside, and virtually zero subs are currently available that actually sound good that are that thin. Also, and this was the final nail in the coffin, the airspace of this sealed box was supposed to be around 1.0 cubic feet, so I could run just about any nice sub. But, I miscalculated by a fair amount, and ended up with about .6 cubic feet, measured with foam peanuts. This meant that I had to either kill the entire sub box plan, or sacrifice sound quality and performance. Well, the latter wasn't happening if I could help it, so I killed the design.


This is what the final product was supposed to look like. In fact, thats the stock trunk cover sitting right on top of that box. So, you can see I was going to for the "stealth" look.

It was about this point that I decided I've gone entirely the wrong direction! This SUCKS, to say the least. One day, I hope one of you guys go this route, and do better. The secret to making this plan work is running a thin depth subwoofer. You see, that neat little box you see is only 4" tall on the inside, and virtually zero subs are currently available that actually sound good that are that thin. Also, and this was the final nail in the coffin, the airspace of this sealed box was supposed to be around 1.0 cubic feet, so I could run just about any nice sub. But, I miscalculated by a fair amount, and ended up with about .6 cubic feet, measured with foam peanuts. This meant that I had to either kill the entire sub box plan, or sacrifice sound quality and performance. Well, the latter wasn't happening if I could help it, so I killed the design.
#4
Now, lets talk about Plan B:
The main sacrifice here was the spare tire. Honestly, I'm not even concerned. The Mazdaspeed 3 has tire pressure monitors, so one can always pull over before annihilating the tire, as long as you heed the warning. Also, its not hard to throw the spare in the back seat w/ a banket, on long trips where you might need it.
Here's how I built it -
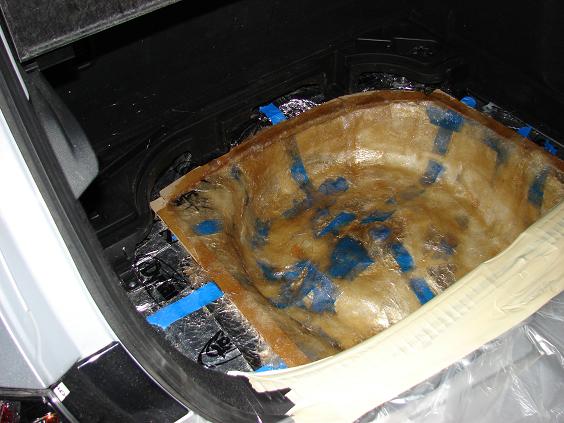
This was a little breakdown of how I wanted it to look.
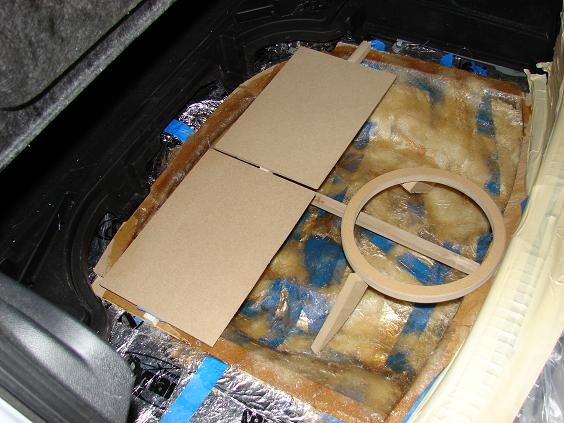
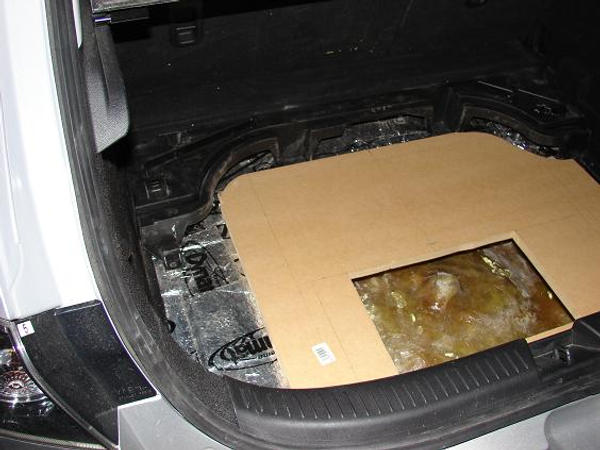
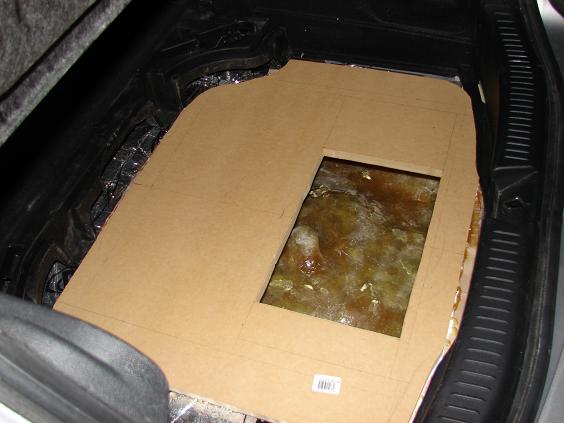
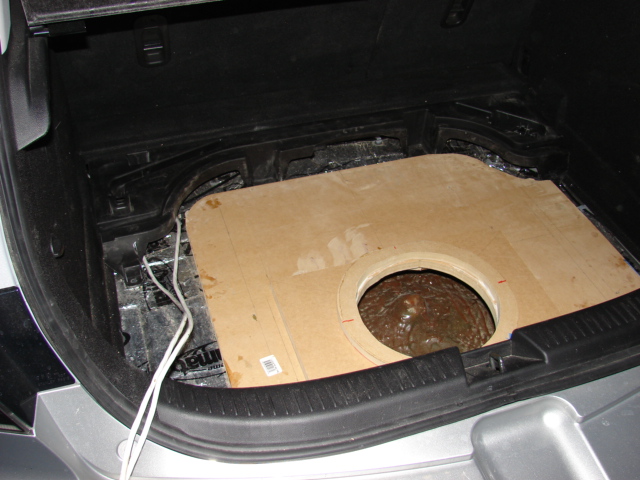
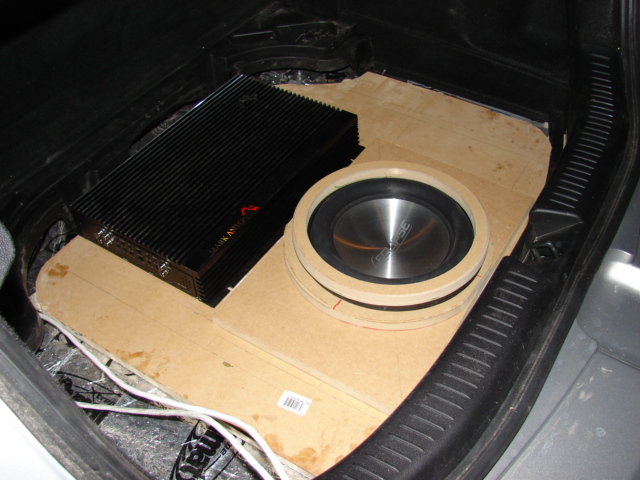
Here's a Mockup: do these often with your own system, btw. It helps figure out what you REALLY are going for.
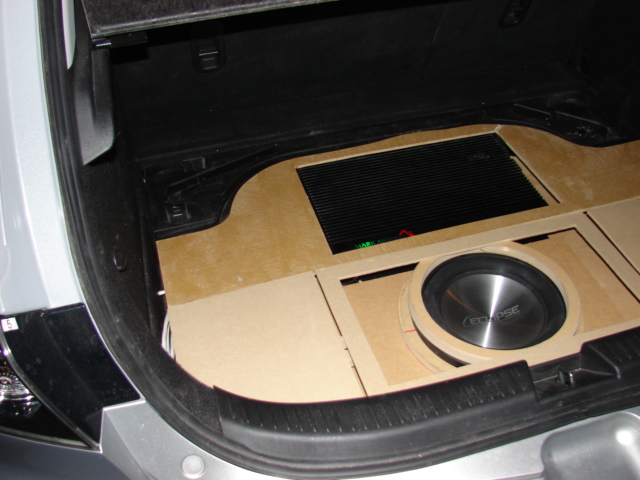
I am guilty of not taking pictures in between these steps. However, you must understand that I didn't feel like my camera was worth ruining when I had all sorts of glues and such on my hands. So, here's the finished trunk

The main sacrifice here was the spare tire. Honestly, I'm not even concerned. The Mazdaspeed 3 has tire pressure monitors, so one can always pull over before annihilating the tire, as long as you heed the warning. Also, its not hard to throw the spare in the back seat w/ a banket, on long trips where you might need it.
Here's how I built it -

This was a little breakdown of how I wanted it to look.


Here's a Mockup: do these often with your own system, btw. It helps figure out what you REALLY are going for.

I am guilty of not taking pictures in between these steps. However, you must understand that I didn't feel like my camera was worth ruining when I had all sorts of glues and such on my hands. So, here's the finished trunk

#7
bear in mind, I haven't seen one of those cars before in person long enough to build an idea for them. However, if you want to snap pics of the trunk, and/or sketch up the space available, I'll be glad to help. Stay tuned, I'm going to show you what else is done. Some places I just have to describe though, because I didn't have a camera available.
#9
yes, that is true.
I used a 3sixty.2 to be exact. This device takes speaker outs from the factory HU, and flattens their curves, using reverse EQ. Then, it sends a flat signal out via RCA's, for your amps. In addition to this, it can do 3/4 way systems, or 5.1 theaters systems. It has full x-over function to run tweeters, woofers, subwoofers, etc, witout passive x-overs anywhere. It can do time alignment and correction, 31 band EQ front, I think 29 band rear, and 15 band sub and center. Also, it provides amp turn-on signal, and an additional separate volume or subwoofer ****. Finally, it will accept an Aux input via RCA's.
In general, you should only need the front speaker outs from the stock Head unit, running to the 3sixty.2. Generally speaking, this car should not need rear speakers at all (other then stock, if you must) to sound great. The fronts, though,...spend some dough, and you'll get what you want.
Bottom line, the factory HU puts out great sound once flattened down w/ the 3sixty.2, otherwise you get a weird, dull rolloff on the high end, and the low.
#10
The 360.2 is a badass piece. Im pretty sure that if you put 4 or 5 of them in the same room for to long, they could effectively and efficiently take over the world. That is a very clean install. I liked the first one as well, but even with a flat woofer like the Pioneer or JL you wouldn't get the output like that Eclipse is going to pound into your skull. Kinda reminds me of mine....check it out. I haven't done anything with the sub yet...Im in the middle of job change/move so don't have time right now.
https://www.mazda3club.com/photo-video-gallery-29/my-3-what-you-think-44352/
https://www.mazda3club.com/photo-video-gallery-29/my-3-what-you-think-44352/
Thread
Thread Starter
Forum
Replies
Last Post
cornercarve98
Automotive News and Updates
4
December-15th-2007 05:30 PM
pr5owner
Photo and Video Gallery
4
May-12th-2003 08:51 PM
mnkyboy
Photo and Video Gallery
4
November-13th-2002 07:49 PM
AustinTX
3rd Gen Protege/MazdaSpeed/P5/MP3
13
September-10th-2002 02:06 AM
audio, box, car, fourthmeal, head, install, mazda, mazdaspeed, mazdaspeed3, plans, speaker, speakers, subs, subwoofer, unit
Currently Active Users Viewing This Thread: 1 (0 members and 1 guests)


